Introduction
VisibleThread Writer has the ability to integrate with a mail server(s) to add functionality; it can connect to an SMTP server to send mail and an IMAP/POP3 server, or Microsoft Graph API endpoint, to receive mail.
Document Analysis via Email
This document will focus on configuring Microsoft Graph API integration to enable document analysis via email. Microsoft Graph API is desirable over IMAP/POP3 as it is a more secure option to those more legacy protocols.
Creating an App Registration in Azure
-
Go to App Registrations in your Azure portal Azure App Registration
-
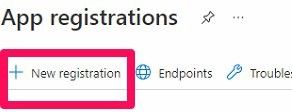
Hit New registration
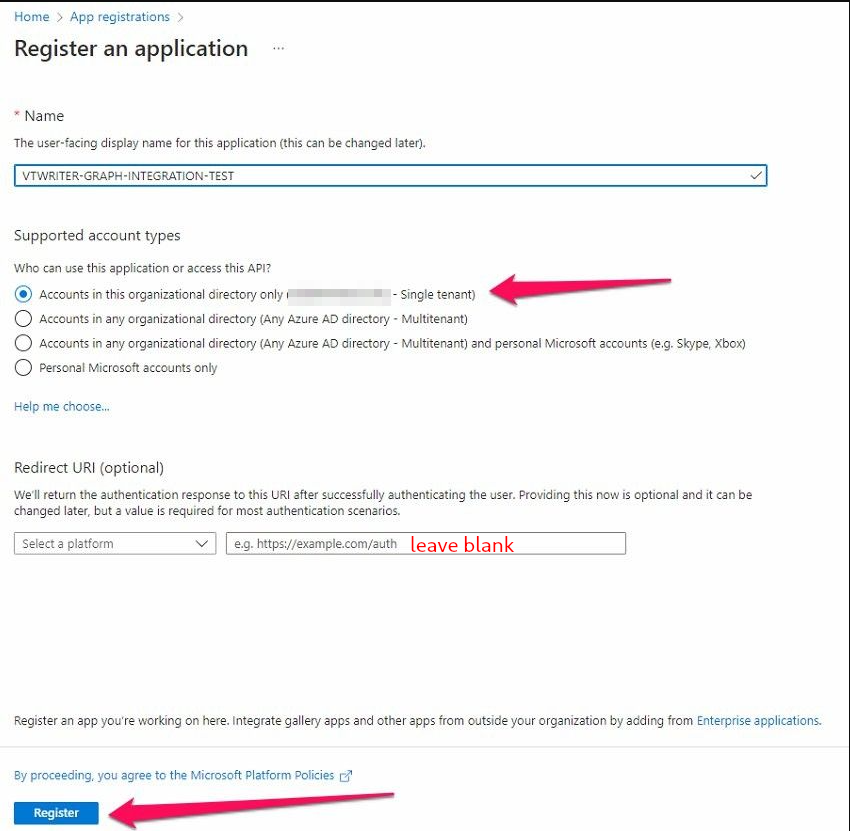
- Enter a user-facing name and select Single tenant. Then Register
-
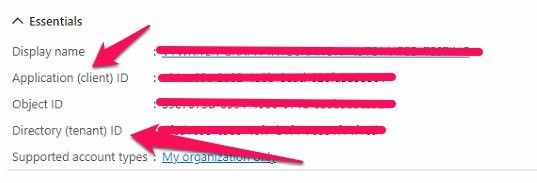
Once created, on the Overview page, you can note the Application client ID (our CLIENT_ID) and Directory tenant ID (our TENANT_ID).
Adding client authentication method
There are two ways of authenticating your Writer installation with your App registration. Via a Client Secret or a Certificate (.pfx cert)
Client secret
-
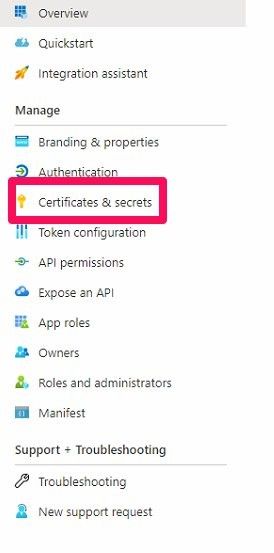
In your Registered App overview screen, select Certificates & secrets from the Manage panel
-
Hit Create new client secret.
-
Enter a description and your own Organisations preference for expiry (this will decide how often the secret has to be updated in the Writer front-end).
-
Copy the text in the Value column

-
This is now your CLIENT_SECRET
Certificate Authentication
Here we will create a self-signed public certificate to authenticate our application.
-
Go to the Certificates & secrets section and hit Certificates
-
Create your certificate. Run the following commands in Powershell:
## Replace {certificateName}
$certname = "{certificateName}"

## Create cert using the above variable
$cert = New-SelfSignedCertificate -Subject "CN=$certname" -CertStoreLocation "Cert:\CurrentUser\My" -KeyExportPolicy Exportable -KeySpec Signature -KeyLength 2048 -KeyAlgorithm RSA -HashAlgorithm SHA256

## Export your public key, specify your preferred location and note the format is .cer
Export-Certificate -Cert $cert -FilePath "C:\Users\admin\Desktop\$certname.cer"

## Export your private key with password, Specify your preferred location
$mypwd = ConvertTo-SecureString -String "{myPassword}" -Force -AsPlainText
Export-PfxCertificate -Cert $cert -FilePath "C:\Users\admin\Desktop\$certname.pfx" -Password $mypwd
If the above commands don’t work or you have an issue with creating your certs here is a link to the Microsoft documentation: Create a self-signed public certificate to authenticate your application
-
The above will give you your CLIENT_PFX_CERTIFICATE and CLIENT_PFX_PASSWORD
-
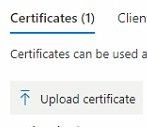
Now upload your .cer certificate with a description to your Registered App.
Limiting registered application permissions to specific Exchange Online mailboxes
By default, apps that have been granted application permissions to the Mail data set can access all the mailboxes in the organization. Before we add Graph mail API permissions, we want to make sure the registered app's access is locked down to specific mailboxes. We do this by adding an ApplicationAccessPolicy on the registered app.
Prerequisites:
-
You must connect to Exchange Online PowerShell. You can install the ExchangeOnlineManagment module and connect using the following commands:
Install-Module -Name ExchangeOnlineManagement -RequiredVersion 2.0.5

### If you get an error importing (cannot be loaded because running scripts is disabled on this system) run the 'Set-ExecutionPolicy' command below and try again. If no error ignore 'Set-ExecutionPolicy' command.

Import-Module ExchangeOnlineManagement

### Ignore this command if the import command runs with no error.
Set-ExecutionPolicy RemoteSigned

Connect-ExchangeOnline -UserPrincipalName user.example@visiblethread.com -ExchangeEnvironmentName O365Default
If the above commands don’t contain enough parameters to connect to your Exchange, see Connect to Exchange Online PowerShell.
-
Create a Mail-Enabled security group and take note of the SECURITY_GROUP_EMAIL
-
Restrict access to members of the mailbox, run the following command replacing AppId (the app/client ID from creating the application in Azure), PolicyScopeGroupId (the email address of the mail-enabled security group created above).
New-ApplicationAccessPolicy -AppId 61e94588-9591-4a53-82b8-25885a43f70b -PolicyScopeGroupId <SECURITY_GROUP_EMAIL>@example.com -AccessRight RestrictAccess -Description "Restrict this app to members of SECURITY_GROUP_EMAIL"
If you run into an issue, Follow the steps in Limiting application permissions to specific Exchange Online Mailboxes - Microsoft Graph
Add Graph API permissions to registered app
So now that access has been locked down to the desired mailboxes, we can go ahead and add the Graph API Mail permissions.
-
Go to the API permissions panel on your registered app
-
Hit Add a permission and navigate to Microsoft Graph
-
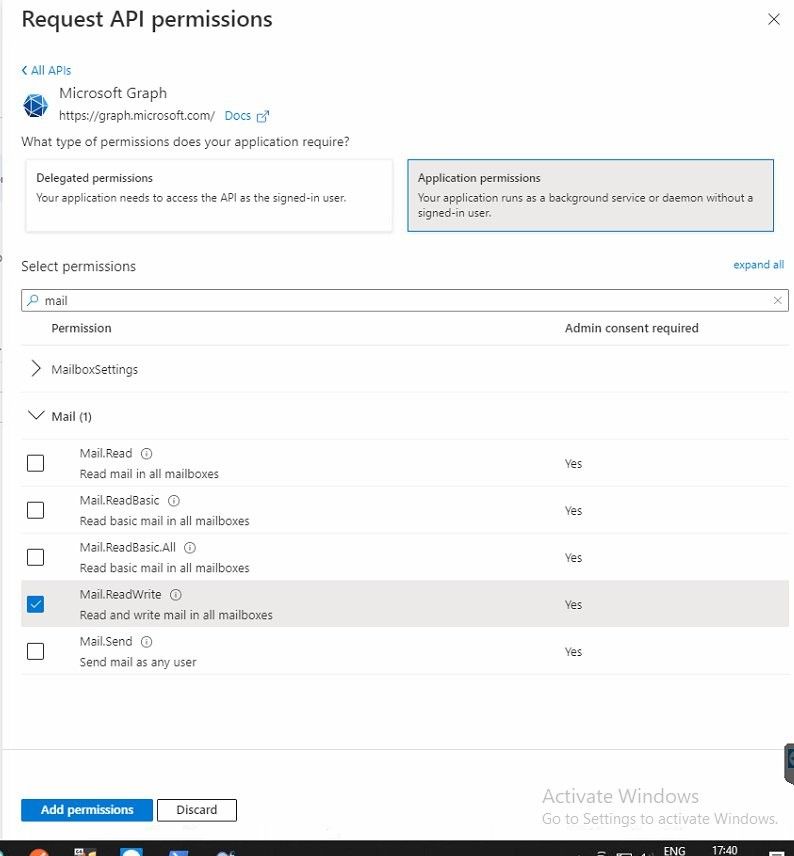
Choose Application permissions
-
Search for Mail and enable the Mail.ReadWrite permission
-
Go ahead and add the permissions
-
Now we must get Admin consent for these permissions

Once this consent is given it's ready for a test!
For help on configuring VT Writer to use the Graph API, see our VT Writer and Email Service Configuration Help - section 10.1 Configuring Inbound Mail Settings