
This article provides the specifics for setting up VT Docs inside your Active Directory Federation Services (ADFS) . This covers the details to complete Step 2 "Setup VT Docs (as a Service Provider) in your Identify Provider" in Getting Started with Single Sign-On (SSO)
Prerequisites
If your end-users are using Internet Explorer, we require ADFS forms-based authentication to be enabled. This is because VisibleThread does not support Windows Integrated Authentication (WIA).
Before starting the steps below you must download the VT Docs metadata file :
- login to the VT Docs sandboxAdmin app - go to https://<your-on-prem-vt-docs-server>/sandboxAdmin
- click on Security Settings icon in the sidebar
- click Single Sign-On with SAML 2.0
- click Download MetaData
- the downloaded metadata file is called vt_docs_saml_metadata.xml
Add new Relying Party Trust
In your AD FS Management tool select Add Relying Party Trusts... from the Actions sidebar.
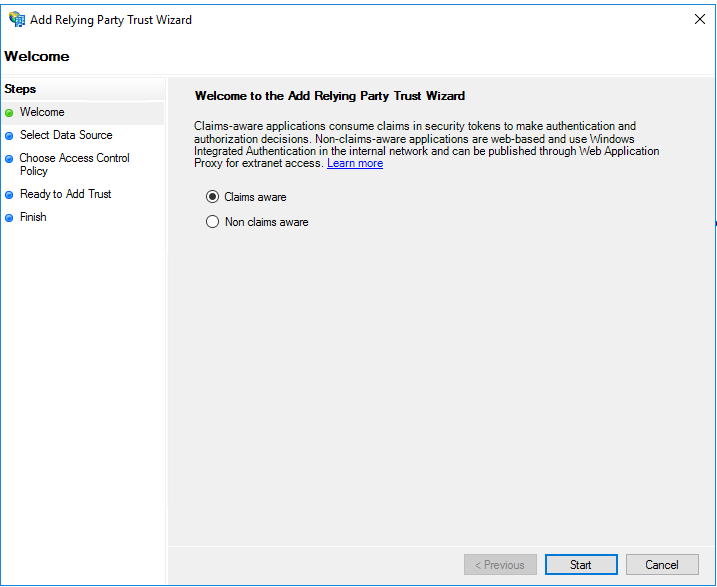
1. Click Start in the configuration wizard to configure a new Relying Party Trust :
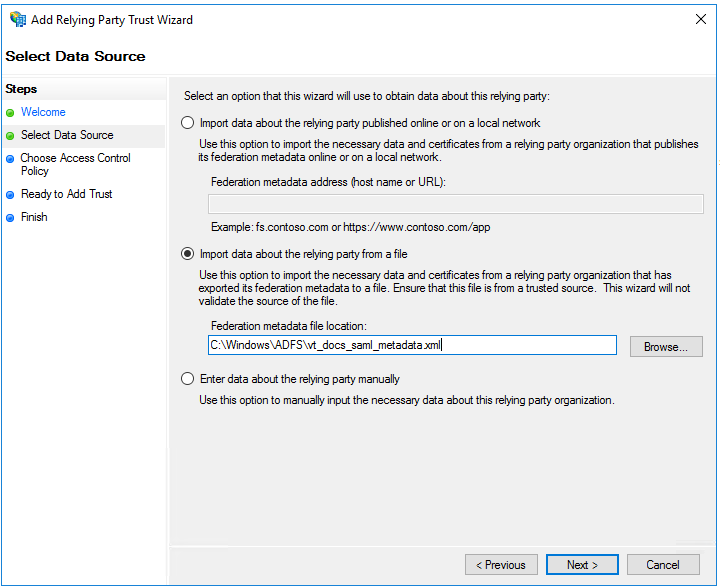
2. In Select Data Source - select option Import data about the relying party from a file then browse for the file vt_docs_saml_metadata.xml :
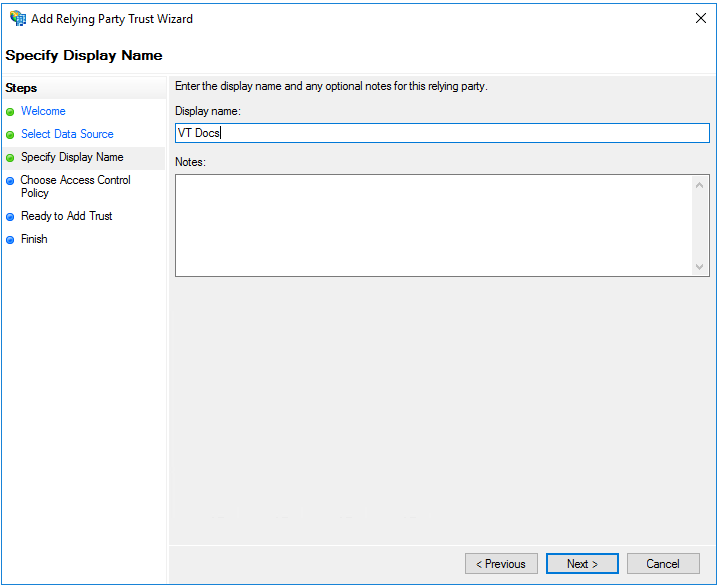
3. Enter a Display name :
4. Choose an access control policy :
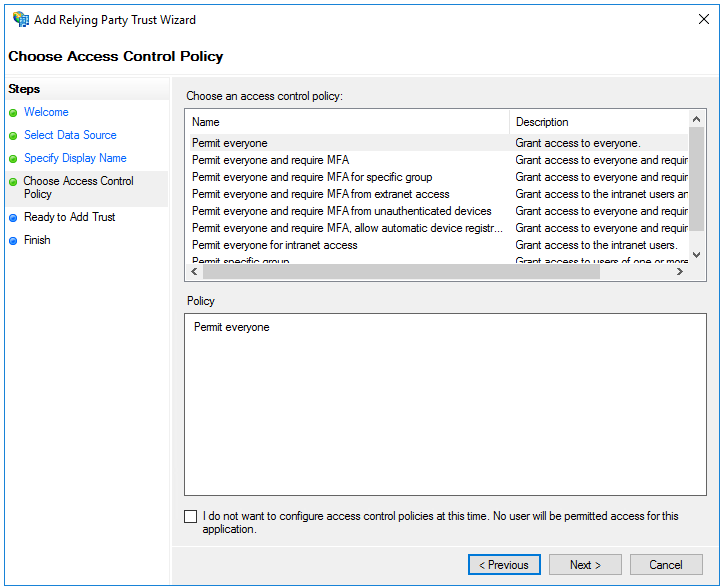
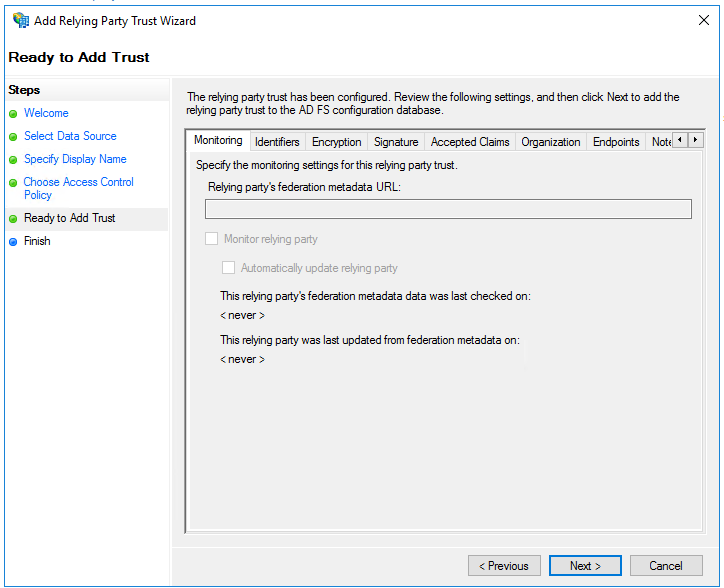
5. Click Next to proceed (there are no changes required here) :
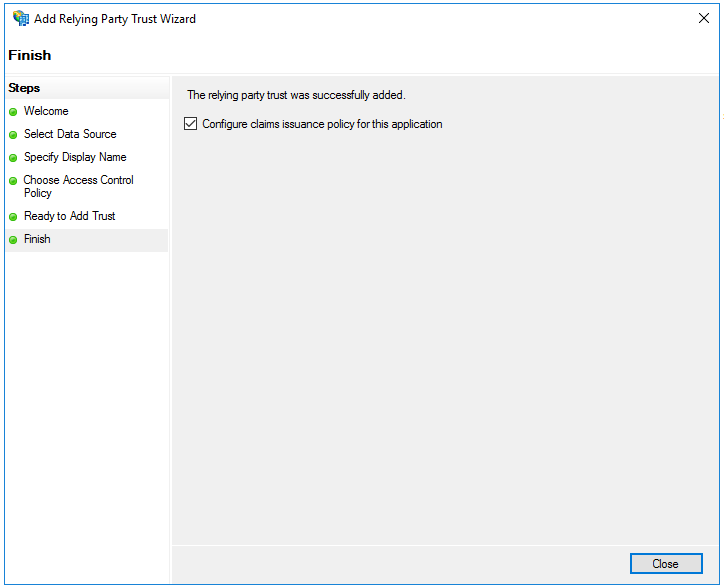
6. To finish adding your relying party trust click Close :
Edit Claim Issuance Policy
Finally, we have to configure a Claim Rule that will map the LDAP email attribute (for a user) to a SAML claim.
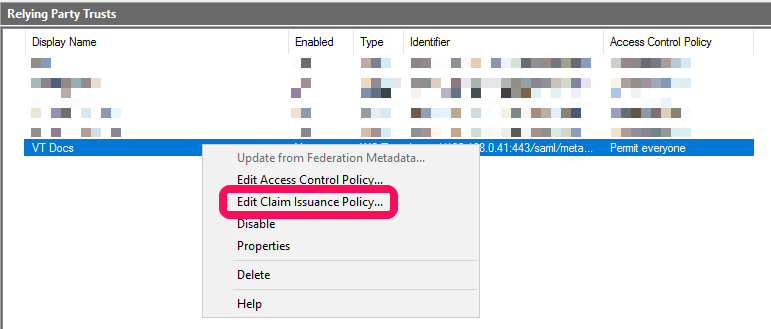
1. In the list of Relying Party Trusts - right click on the trust you created above and select Edit Claim Issuance Policy... :
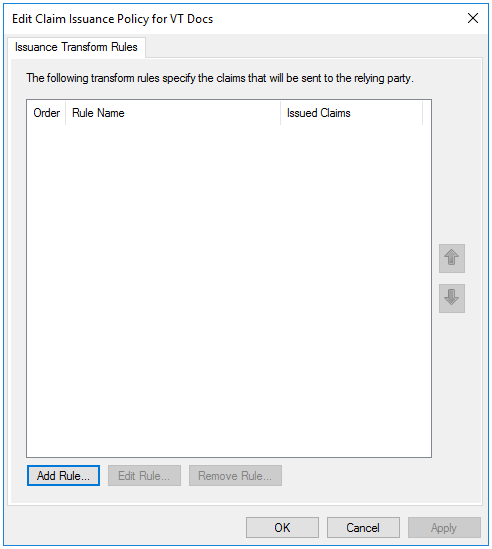
2. Click Add Rule... :
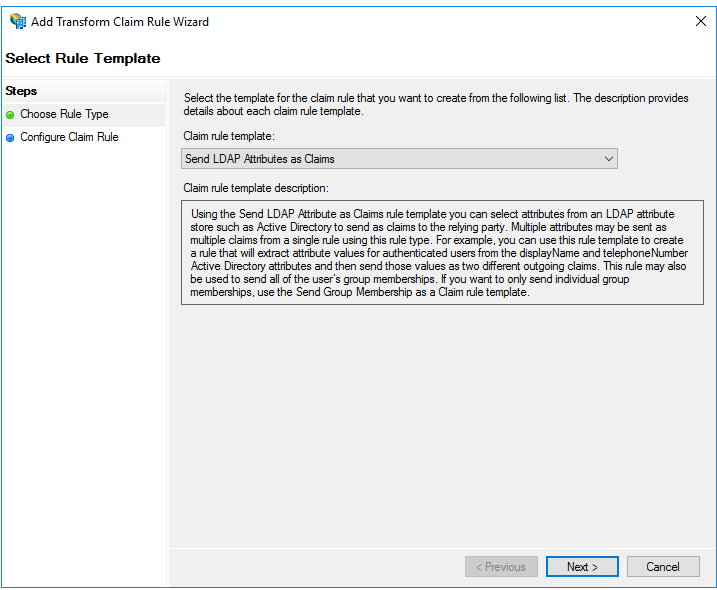
3. Select Send LDAP Attributes as Claims :
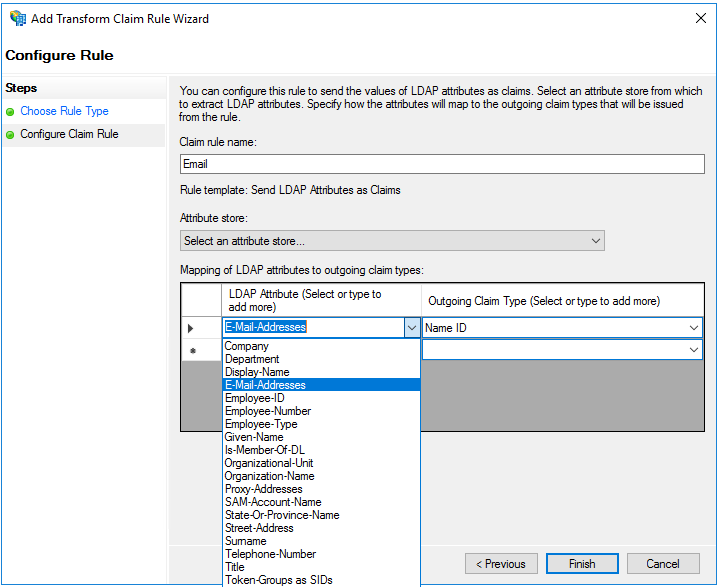
4. In Configure Rule - provide a Claim rule name e.g. "Email" and select Active Directory under Attribute store. Then click LDAP Attribute dropdown and select E-Mail-Addresses. Then click into Outgoing Claim Type, type in the text "Name ID" and hit Finish :
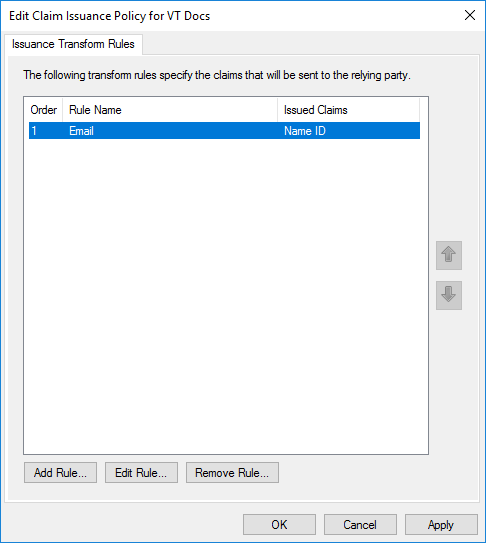
5. Hit OK to complete :
Congratulations! You should now be able to resume the final step Test and Enable SAML SSO in Getting Started with Single Sign-On (SSO)